Go to the help overview.
|
Create task list
Creating a list is quite easy. In the list view a plus icon ('+') is displayed on the right side in the subheader. When clicking on this icon, a dialog box will appear. 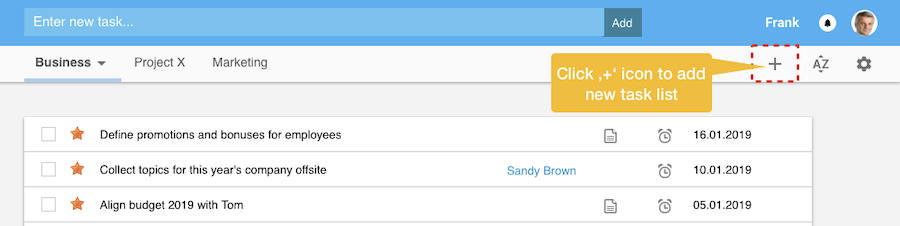
|
|
|
In the dialog box you need to enter at least a name for the new list. The minimum length is 1 character, the maximum length 15 characters. Also you might want to select a color from the color palette. When not selecting a color, a default color will be assigned. 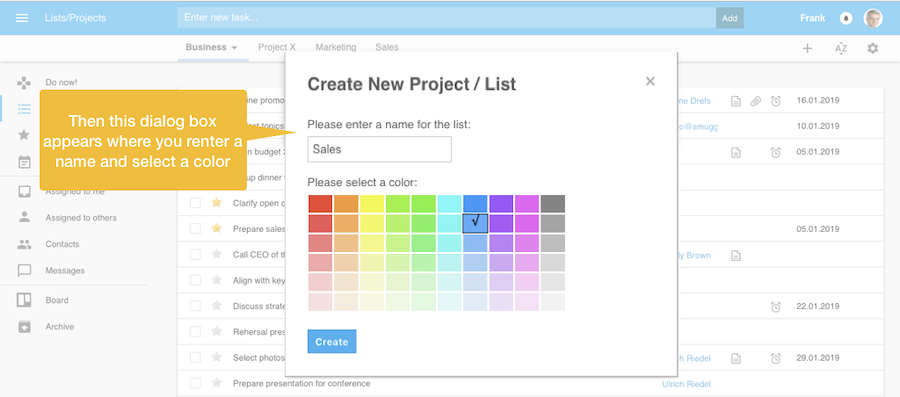
|
|
|
When pressing the 'Create' button the new list will be added on the right side of the existing lists. You can immediately create tasks for this list - or move tasks to the list. 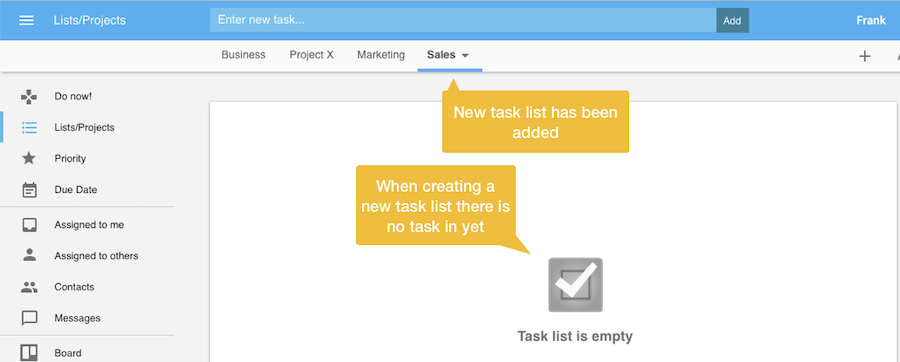
Yet there might also an alert message appear when you click the OK button, telling you, that your maximum number of list has been reached. In the free version Organiseme has limited the number to five list. In case you need more than five lists please upgrade to Organiseme Premium 1 or Premium 2 - this will give you an unlimited number of lists. |
|
Task list menu
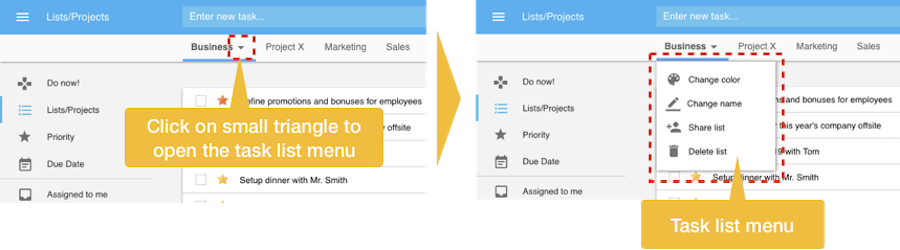
In order to change, share or delete a task list you need to click on the small triangle displayed in the active tab. Then the task list menu appears, containing the following entries:
| ||
|
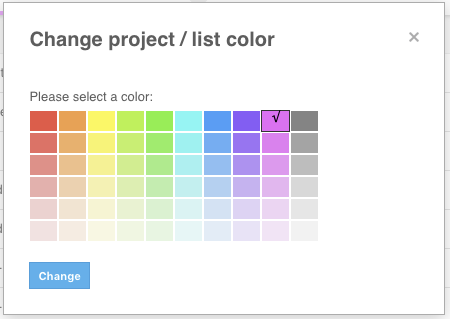
Change color of task list
When selecting the 'Change color' entry, a control box similar to the control box for creating a new list will appear, where you can select another color from the color palette. |
| |
|
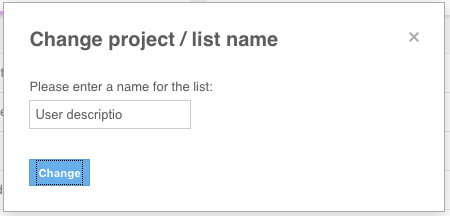
Change name of task list
By choosing the 'Change name entry, the control box displayed on the right appears where you can change the list name by entering a new name into the text field. To confirm you changes, you need to press the Change button. |
| |
|
Share task list
You can share a list with one or several of your Organiseme contacts. Then the list will be also displayed in the list view of these contacts, and the contacts can complete tasks or create new tasks. For more details see the collaboration section. | ||
|
Delete task list
For deleting a list you need to select the 'Delete list' entry in the pop-up menu. Now an alert box will appear, warning you that the deletion of the list will also delete all the tasks of this list. When you confirm the deletion of the list, the control box closes, and the list - including all assigned tasks - is directly deleted. |

| |